Install guide - Windows
Step 4 of 8
Download and decide where to keep your prototypes
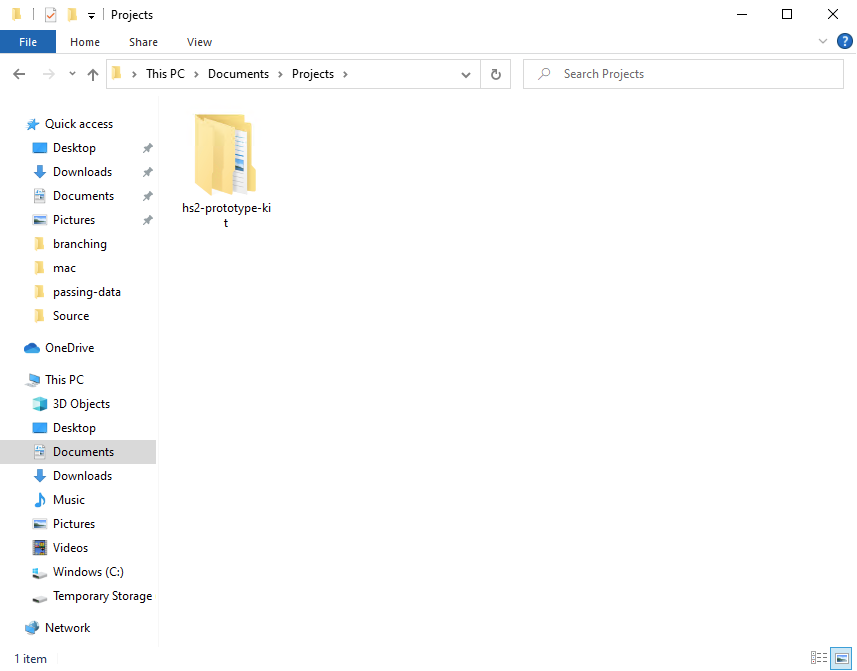
1. Create a folder
Create a folder called projects in your Documents folder.

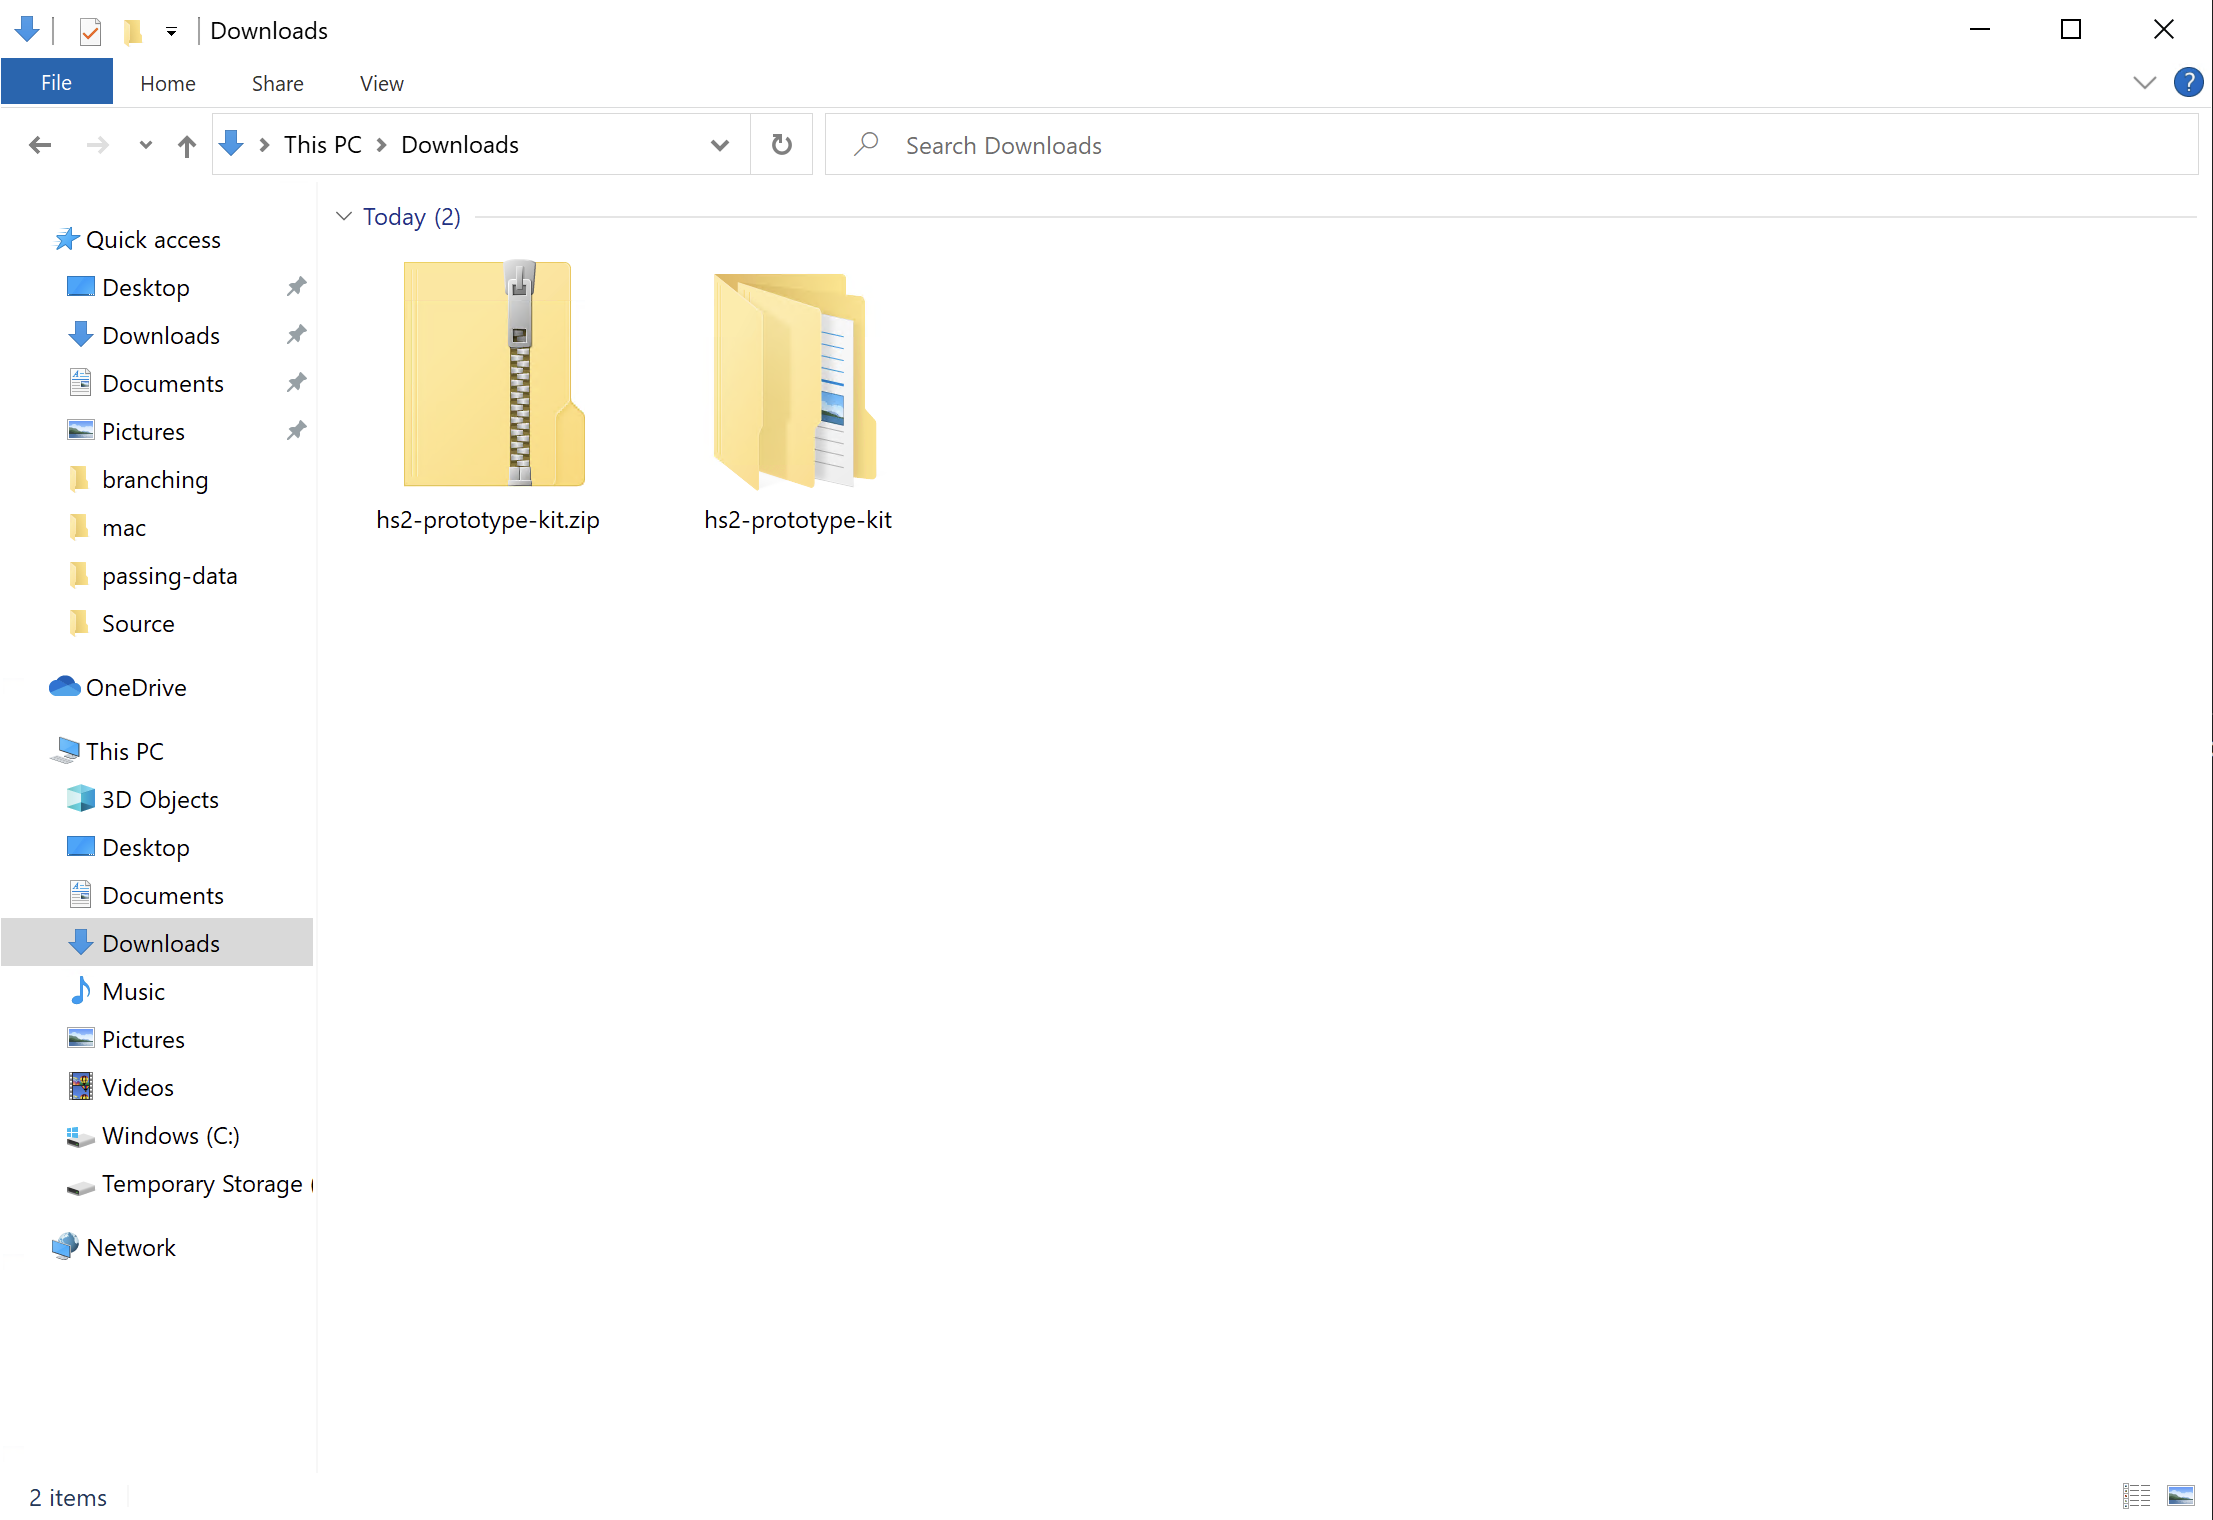
2. Download the kit
The simplest way to get the kit is to download it as a zip.
You'll use a new copy of the kit for each new prototype you make. That way your prototypes don’t interfere with each other.
3. Unzip the kit
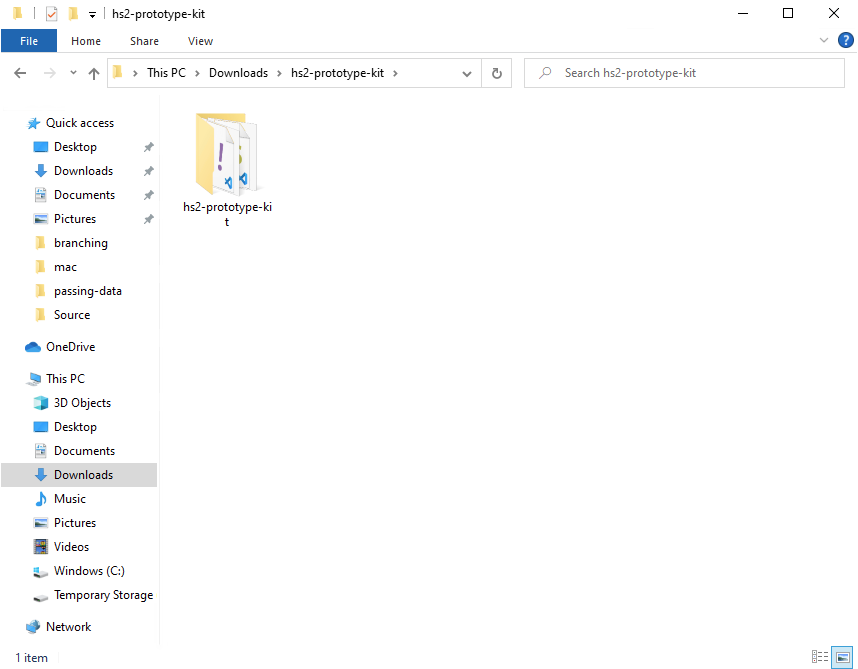
Unzip the kit you downloaded - you should end up with a folder called hs2-prototype-kit followed by the version number.
Open that folder by double clicking on it. You should then see another folder named hs2-prototype-kit followed by the version number.
4. Rename the folder
Rename the folder to something descriptive for your prototype.
For this guide, call the folder:
find-a-pharmacy
5. Move the folder
Move the folder into your Projects folder.